Drywall installation is one of the most transformative parts of a renovation or construction project. Once the framing is complete, the room finally begins to take shape, and the quality of the drywall work will influence how smooth, solid, and visually appealing the finished space becomes. Many homeowners attempt to tackle how to hang drywall themselves, but understanding the correct tools, techniques, and workflow is essential for achieving professional-looking results.
Whether you’re a DIY-minded homeowner or simply want to better understand what goes into expert installation from a professional drywall company in Stratford, CT, this guide offers a clear, narrative-style walk-through of the entire process.
Why Learning to Hang Drywall Matters
Knowing how to hang drywall properly is more than a practical skill because it directly affects the long-term performance of your walls and ceilings. A correctly installed sheet ensures smoother finishing, fewer cracks, and improved sound control. It also reduces the need for repairs, patching, or extra layers of mud later on.
Many homeowners call for drywall hanging services in Stratford, CT because the smallest misstep in the early stages can create visible imperfections once the painting begins. Understanding the process helps you recognize quality work, whether you’re doing it yourself or hiring professionals.
Tools You Need to Hang Drywall
To successfully Hang Drywall, you don’t need an entire workshop. You only need a set of essential tools that make installation faster, cleaner, and more accurate. These include a utility knife with fresh blades, a T-square, a drywall lift for ceilings, screw guns, a drywall rasp, measuring tape, and a sturdy step ladder.
You’ll also want drywall screws designed specifically for fastening gypsum panels and a stud finder for marking secure attachment points. When you’re equipped with the right tools, you’re better prepared to hang drywall efficiently without causing unnecessary damage to the sheets or the framing.
How to Hang Drywall: Step-by-Step Techniques
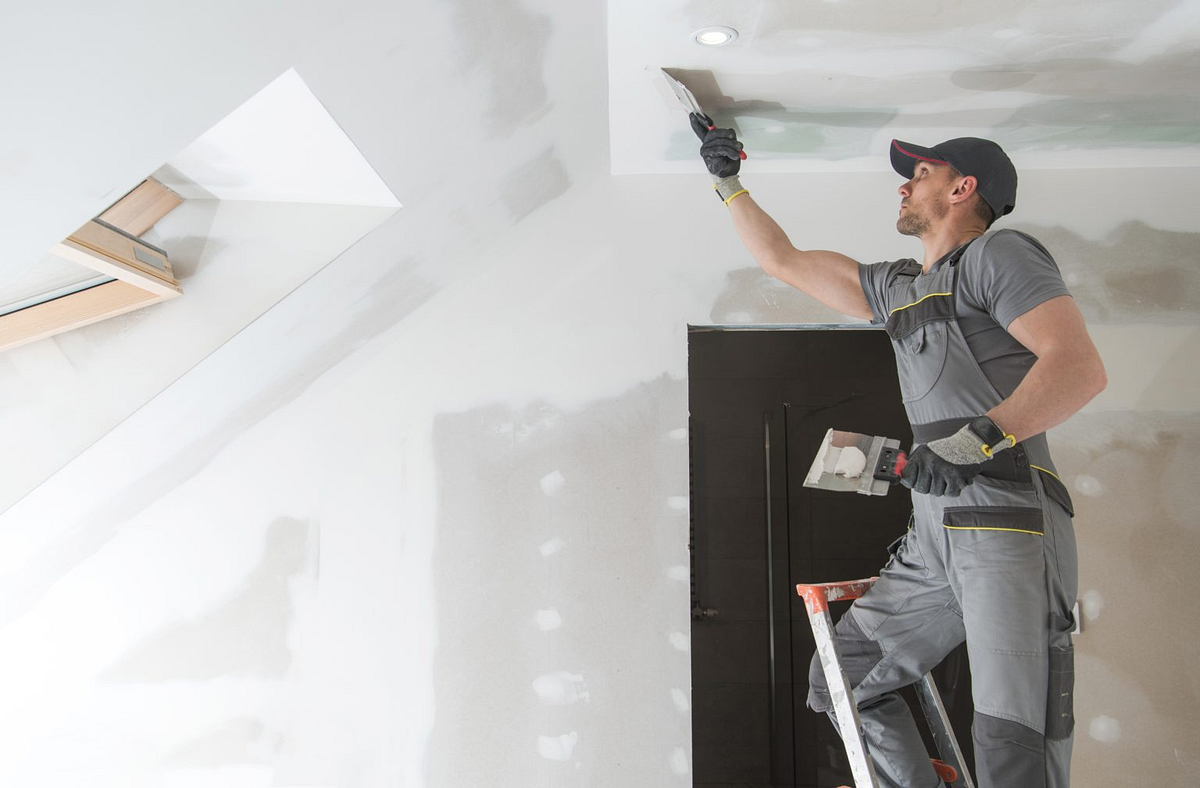
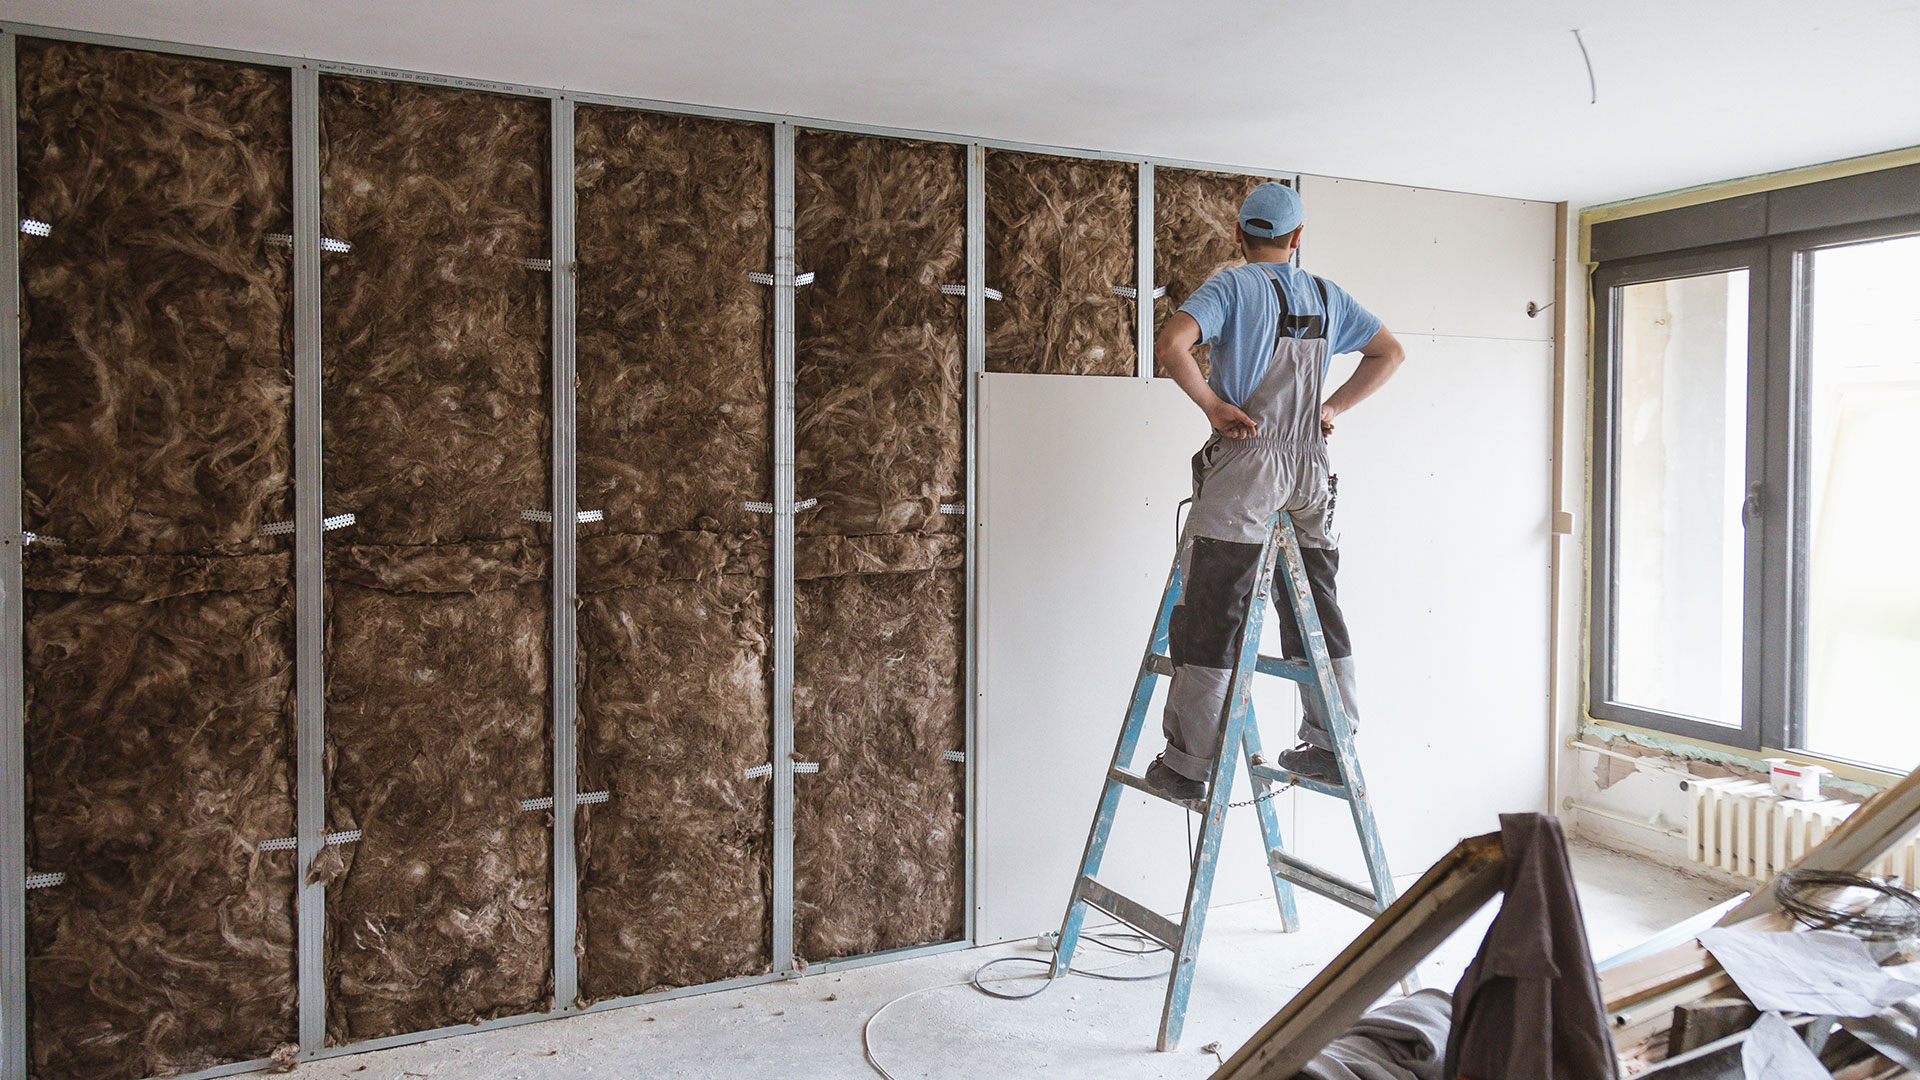
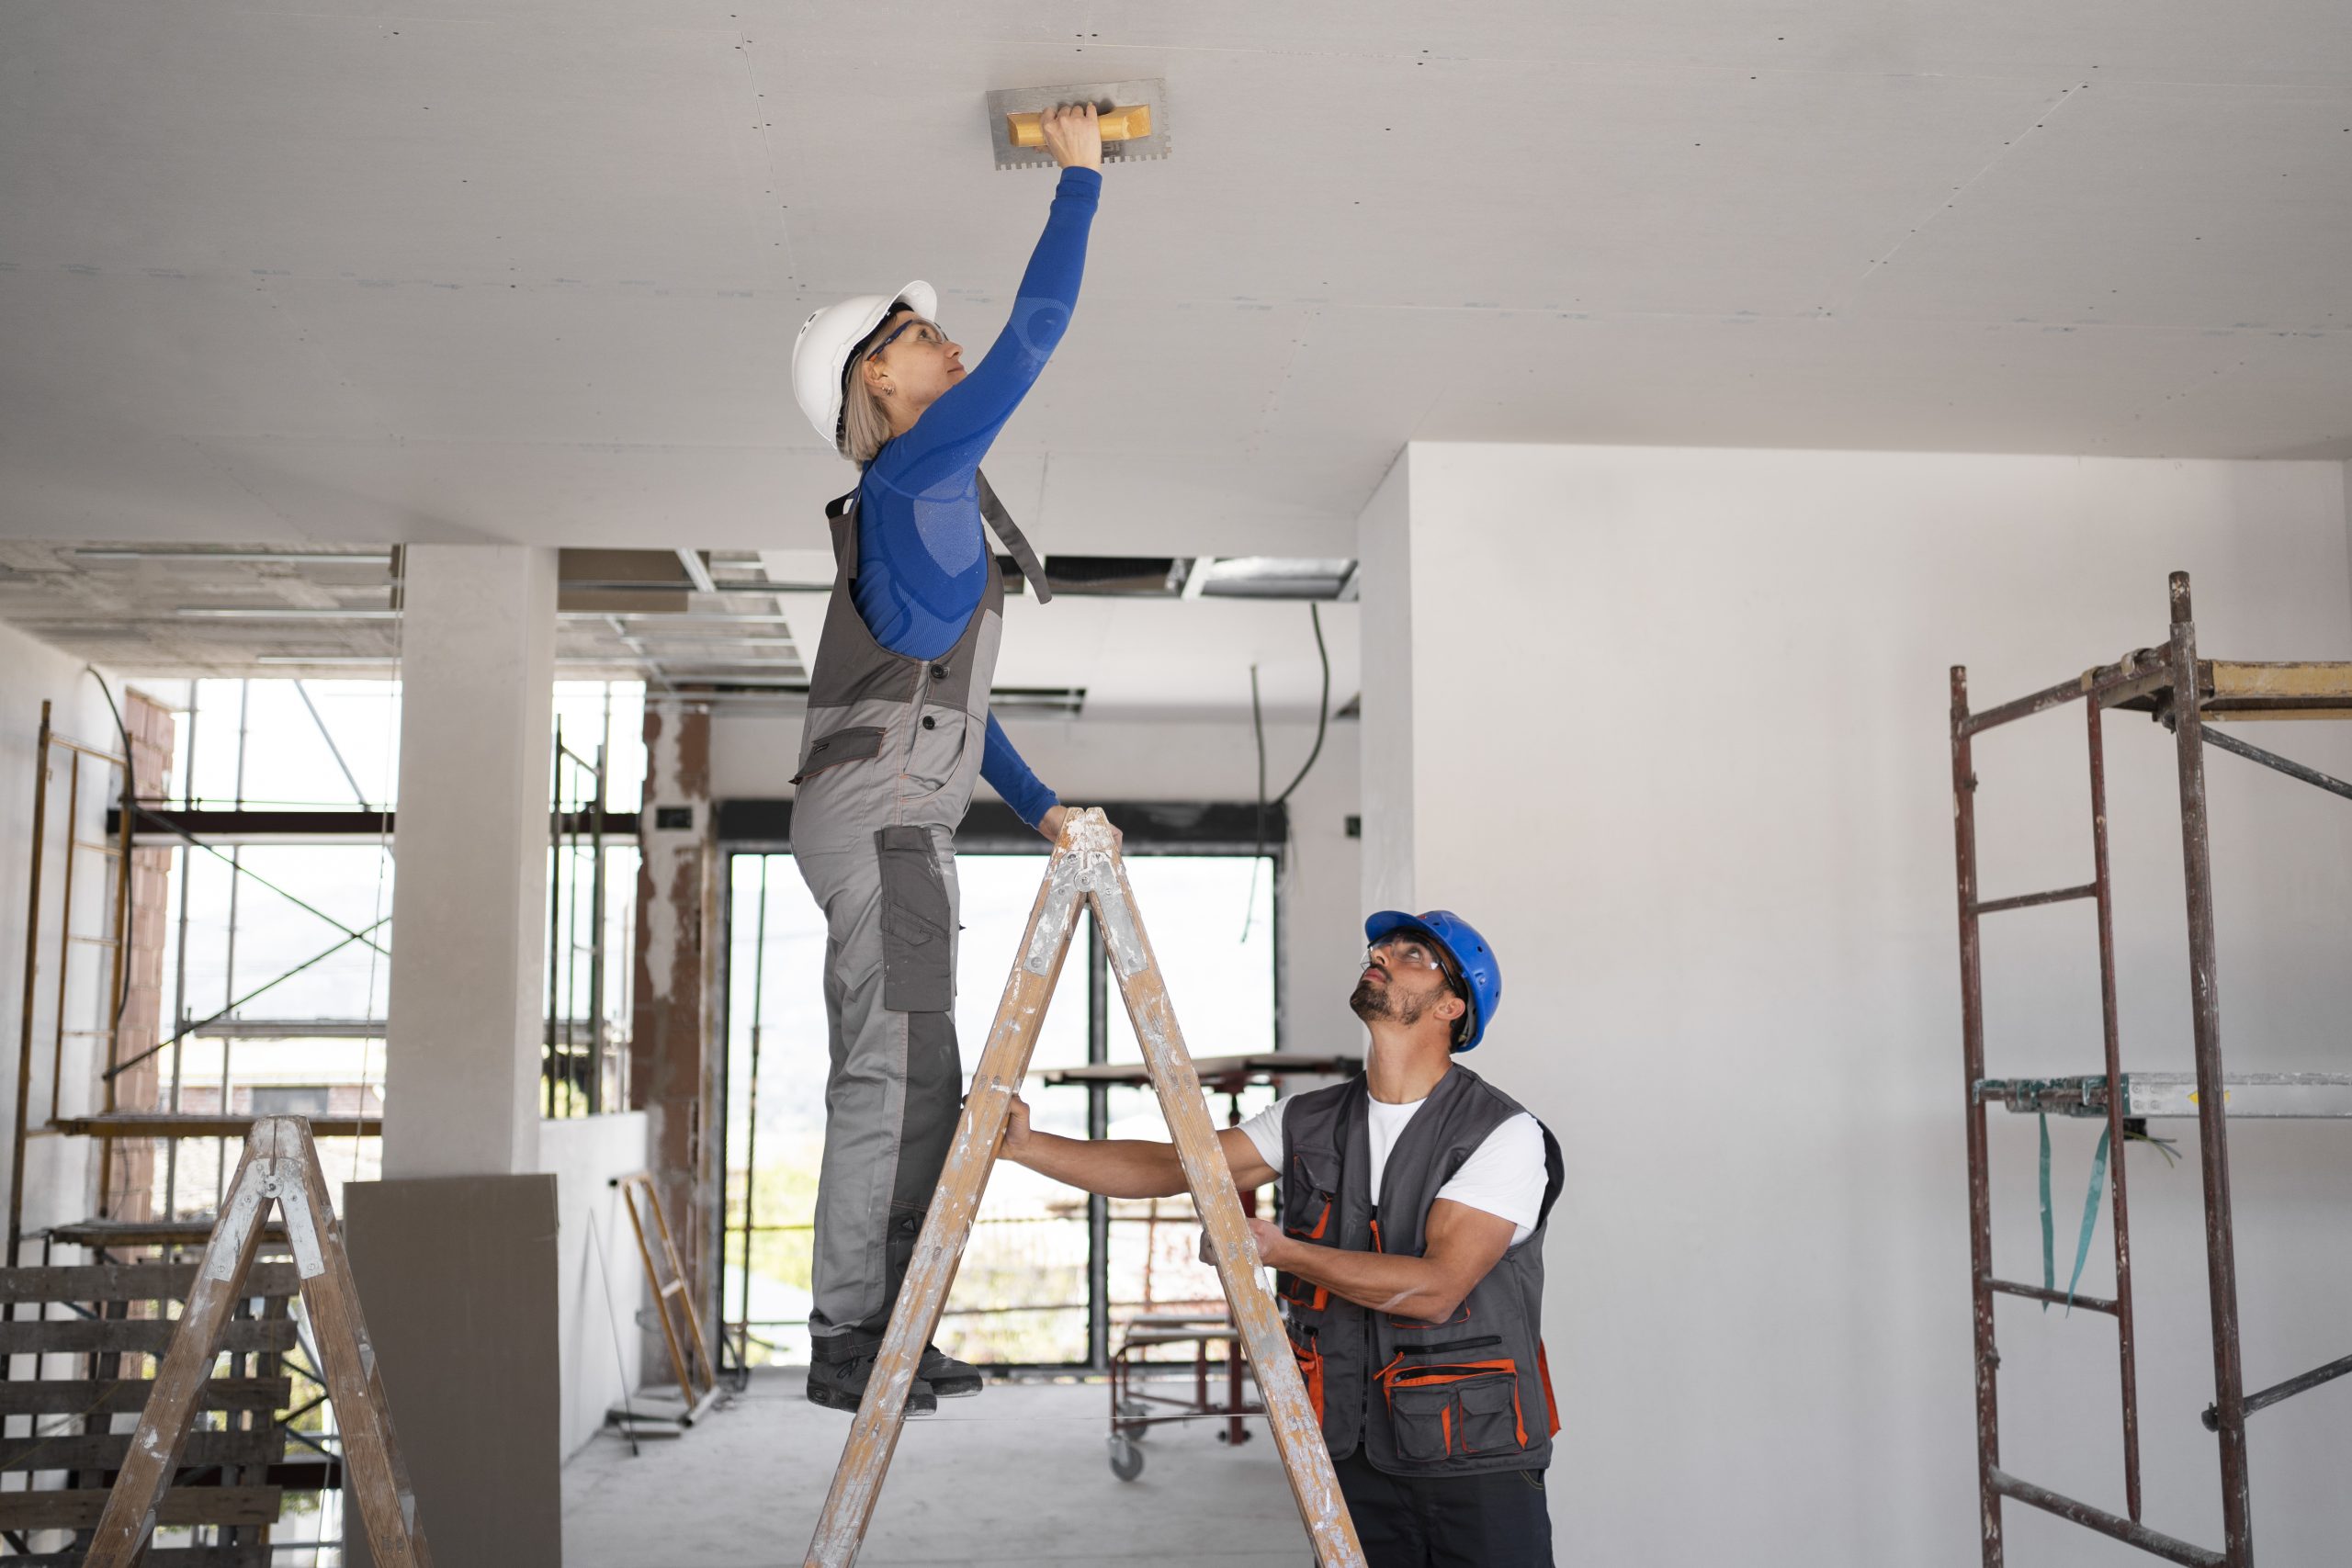
Understanding how to hang drywall effectively begins with proper planning. Measure each wall carefully and decide where each sheet will be placed before making the first cut. Good installers always start with ceilings first because it creates a cleaner edge for the wall sheets to lock into.
When cutting panels, score the front paper cleanly, snap the sheet along the score line, then trim the back paper. This simple technique helps ensure your pieces fit snugly in place. Once secured, position each sheet horizontally or vertically depending on your framing and layout. To securely hang drywall, place screws every 12 to 16 inches on studs, ensuring the screw heads slightly recess without breaking the paper surface.
One of the biggest differences between amateur and professional work is the attention given to seams. Before you hang drywall across large areas, plan seam placement so they fall on studs or minimize butt joints. Proper alignment now saves hours of sanding later.
Pro Tips for a Cleaner, Straighter Finish
Even after you hang drywall, the finishing stage can reveal mistakes that weren’t obvious during installation. That’s why professionals rely on certain best practices long before the taping phase begins.
Always store your drywall sheets flat to avoid warping, which makes installation uneven. When preparing to Hang Drywall, mark all electrical boxes, cut openings accurately, and test-fit panels before securing them with screws. A drywall lift is invaluable when working overhead because it holds sheets level and reduces fatigue.
Professional installers also maintain consistent screw depth because overdriving screws weaken the sheet while underdriving creates bumps that disrupt the finishing phase. Finally, always leave a small gap of about 1/8 inch between the floor and the bottom drywall sheet to prevent moisture wicking and ensure long-term durability.
Conclusion
Mastering the process of drywall installation does not require decades of construction experience. It only takes patience, the right tools, and thoughtful technique. Whether you are completing a small upgrade or preparing a full renovation, understanding how to approach drywall correctly helps you achieve smoother surfaces, sharper edges, and a more polished interior.
And if your project requires expert results, local professionals are always ready to help. A trusted professional drywall company in Stratford, CT ensures each sheet is installed with precision, saving you time and guaranteeing a flawless finish.
FAQs
1. Is it better to hang drywall horizontally or vertically?
Most professionals install horizontally because it reduces the number of seams and provides a cleaner finish, but vertical installation works well for tall walls or when matching existing layouts.
2. Do I need special screws to hang drywall?
Yes. Drywall screws are specifically designed to fasten gypsum board securely without damaging the paper surface.
3. Can I hang drywall alone?
For walls yes using supports helps. For ceilings a drywall lift is strongly recommended to keep panels level and prevent injuries.
4. Should I leave gaps between drywall sheets?
A small gap (1/8 inch) at the bottom prevents moisture absorption and allows for expansion during temperature changes.
5. How long does it take to hang drywall in a typical room?
A standard 12×12 room can take anywhere from 2 to 6 hours for experienced installers, depending on ceiling height, obstacles, and the number of cuts needed.